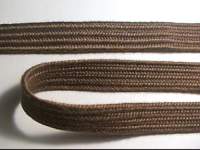
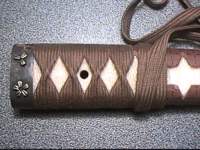
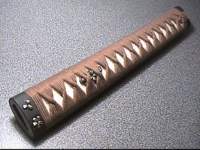
I did the standard wrapping called "Ito Maki no Katana". The brown cotton tape was in strained condition 7mm broad. As "secure" length I bought 4.50 m Tsukaito.
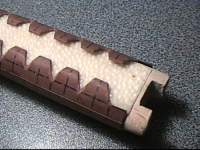
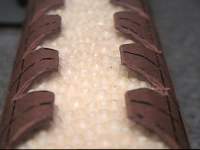
For the better stability of the coil there are normaly put folded paper triangles "Hishi gami" under the crossings. They give an even form to the rhombic free spaces. I used self-developed cardbord strips which serves the same purpose, but are easier to handle.
A detailed guidance with step by step images is on the great Site of Thomas Buck.
Therefore I don't give you a deep-going description concerning the number of windings, technology etc..
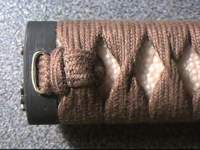
The Mekugi ana through which the bamboo peg is put later for handle attachment is well visible.
Now still the Kashira must be attached and the Tsuka Ito ends must be knotted.
I use here the standard knot...
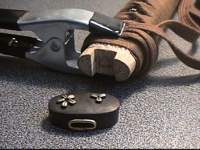
So that the tie can be pulled through by the firm last windings, I in-wound
auxiliary clips made from yogurt cups. I put then the tie into
the open side of the clip and pull it through with the clip under the
windings
A detailed guidance for the end nodes is also on the Site of Thomas Buck.
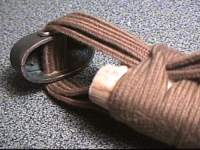
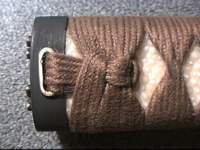
Here is the mounted Kashira and the ties are already pulled through under the last coil on the Omote side with the help of the plastic clips.
A tie end was already cut off and protected with lacquer from fraying. This end is put again under the last coil. The other end is pulled through in a bend, where it came from.
The finished Omote knot
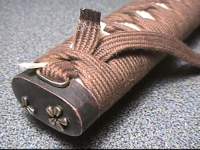
The second end was put in still another bend around the ties withdrawing
from the Kashira and then was put under the last coil.
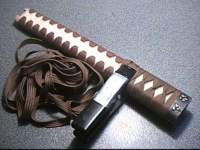
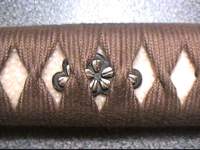
The thicker parts of the handle, which arise as a result of the Menukis,
adapt well to the palms - provided that you are a left-handed person;
-)